Hello people, it's me again..back once more and hopefully for good this time!
What's my story now? Nothing actually..just plain laziness and lack of motivation. The stark, white hospital ward look of my blog doesn't help either, but then I better leave the interior decoration bit for another day. Right now, I want to start dwelling here again, before I get caught up with the rigmarole of student life after nearly a decade! Yes, I'm going back to school:)
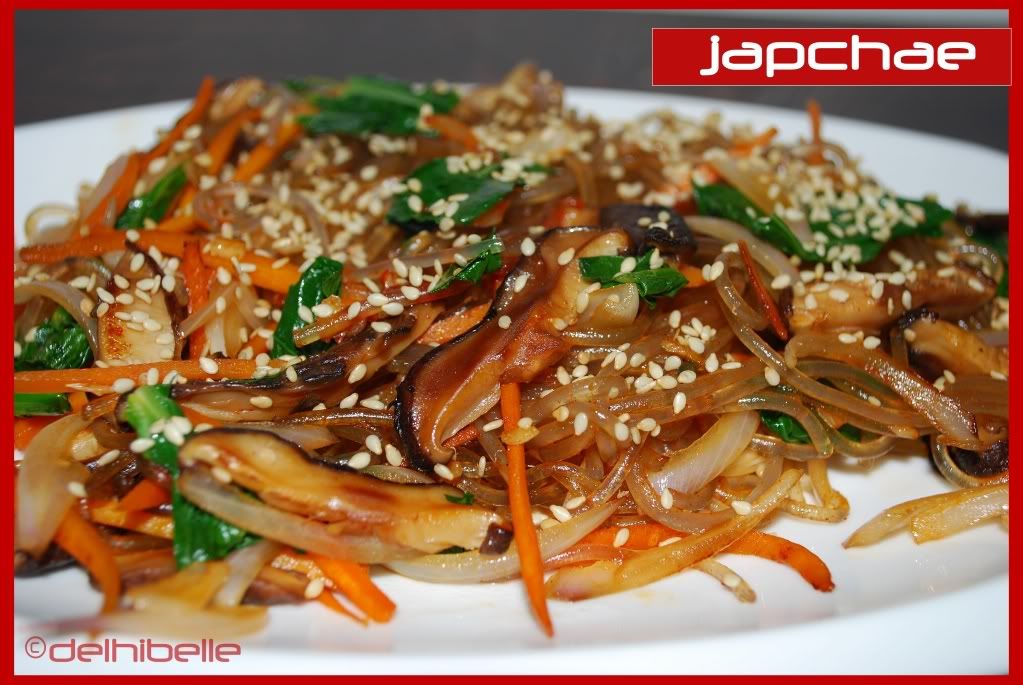
Over the past two years that we have been in Singapore, I have had the opportunity to see an astounding variety of Asian food and ingredients. I would love to share with all of you, the ones that we have enjoyed most and managed to re-create at home successfully. Starting this post, I will be posting vegetarianised versions of popular Asian dishes and look forward to hearing from you about your favourite Asian foods.
Let me begin this series with the very easy, but delicious 'Nasi Goreng'
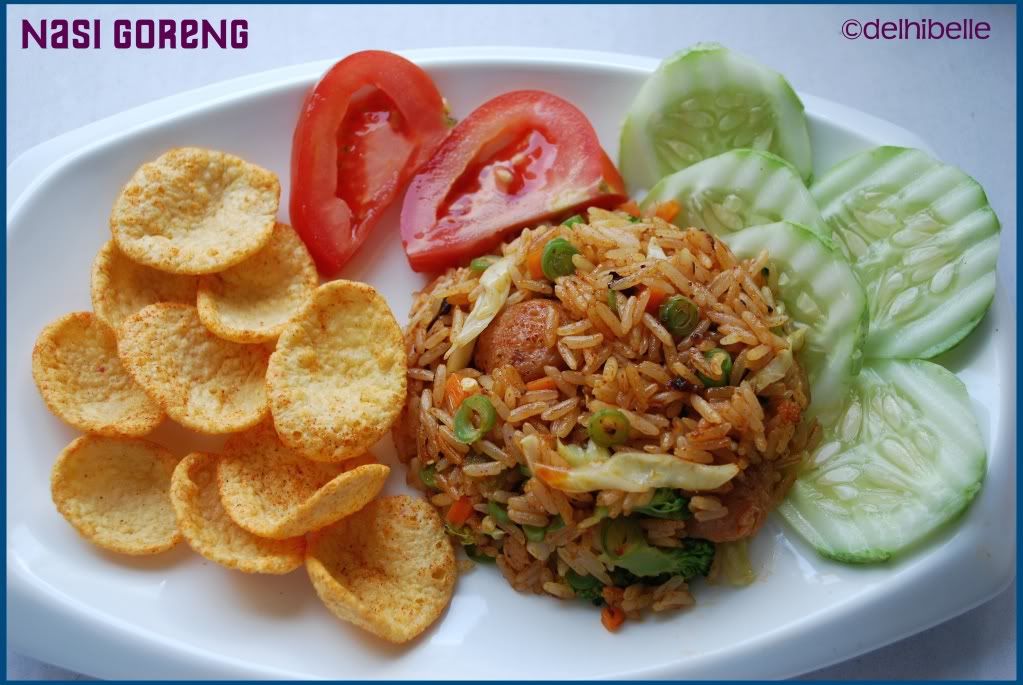
Nasi in Malay means rice and goreng is anything fried- regardless of whether a dish is stir fried, shallow or deep fried. This dish is the Malay/Indonesian version of fried rice, and is a popular breakfast in these parts. While it's a total throw in what you like sort of meal, the mainstays are pre-cooked rice, soy sauce, onions/shallots and garlic. One protein item (usually meat based) is invariably added and the garnishes that make it a meal are cucumber slices, crackers(typically shrimp/prawn) and an optional fried egg. A little tamarind or tomato paste is sometimes used to add a bit of tang, which my sambal already included, so I did not use them. Go ahead and customize it to suit your taste buds, even leaving sambal out totally, if you don't care for spicy food, it'll still be authentic and delish!Ingredients
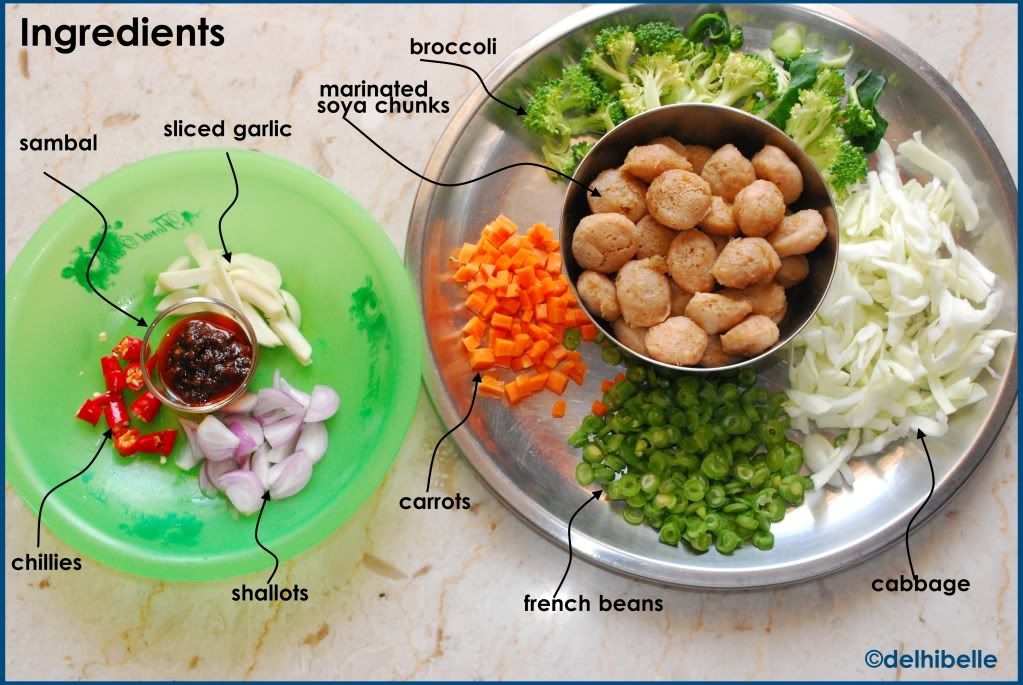
2 cups of cooked rice
1.5 cups of mixed veggies-do try to include cabbage, adds a nice crunch
( I used cabbage, broccoli, carrots and french beans)
1/2 cup of paneer/tofu/soy chunks ( your protein of choice basically)
2 tbsp sliced shallots/red onions
1 tbsp sliced garlic
1 fresh red chili-totally optional
2 tsp sambal ( recipe follows)
soy sauce-preferably both light and dark-1 tbsp and 1 tsp, resp.
salt, only if needed
a pinch of sugar*
* For total authenticity, use kecap manis (sweet soy sauce), a standard Indonesian ingredient, which lends a lovely caramelized taste and colour to the rice. Since most of us can't find it easily, a similar effect can be achieved with a combi of dark soy sauce and sugar. For those who want to know the different varieties of soy sauce, see the Soy sauce primer here.
Sambal: use any of your favourite ready made sambal(check for shrimp paste) or chili paste, chili/sriracha/hot sauce, or if you're crazy and have lots of time like me, do this:Boil 10 to 12 red chillies for a couple of minutes and grind together with one shallot, a little salt and 2 cloves of medium sized garlic to a paste. Heat a few tablespoons of oil, add this and cook until the oil separates. Add a little tamarind juice (approx. 1 tbsp) and a 1/2 tsp ( or to taste) sugar, cook for another minute, check taste, cool and store in the refrigerator.
Step 1 : Prepare the soy chunks by soaking/boiling according to package instructions and squeeze out the excess water, so that they are ready to soak in the quick marinade we are going to make. The tofu can be just rinsed, patted dry and marinated. Paneer is a star regardless. If you're in a hurry, skip this part, but know that tofu & soy chunks can be pretty much flavourless on their own.
Mix a generous splash of light soy sauce, a pinch of sugar & a few drops of lime juice/vinegar and marinade soy chunks or tofu just for as long as it takes to get the other ingredients going. Believe me, it takes much longer to write all this, than to actually make it!
Step 2: Prep the veggies and the garnishes and pleeasse try it with cabbage at least once.
Step 3: Heat 1 tsp of oil in a wok/non stick pan, and lightly fry the soy chunks/tofu/paneer till it gets a slightly crispy coating. I cut them into two at this point as I find that a better size. Keep aside.
Step 4:Add another 2 tsp of oil, add shallots & garlic, stir, add the veggies (except cabbage) and lightly fry them for a minute or so. Now add the rice and the cabbage. Also, add back the soy /tofu/paneer and the seasonings as well as the sambal and fry for a couple of minutes. You can add a little splash of water, if the rice starts sticking, although this is unlikely if you're using leftover rice and a well seasoned pan.
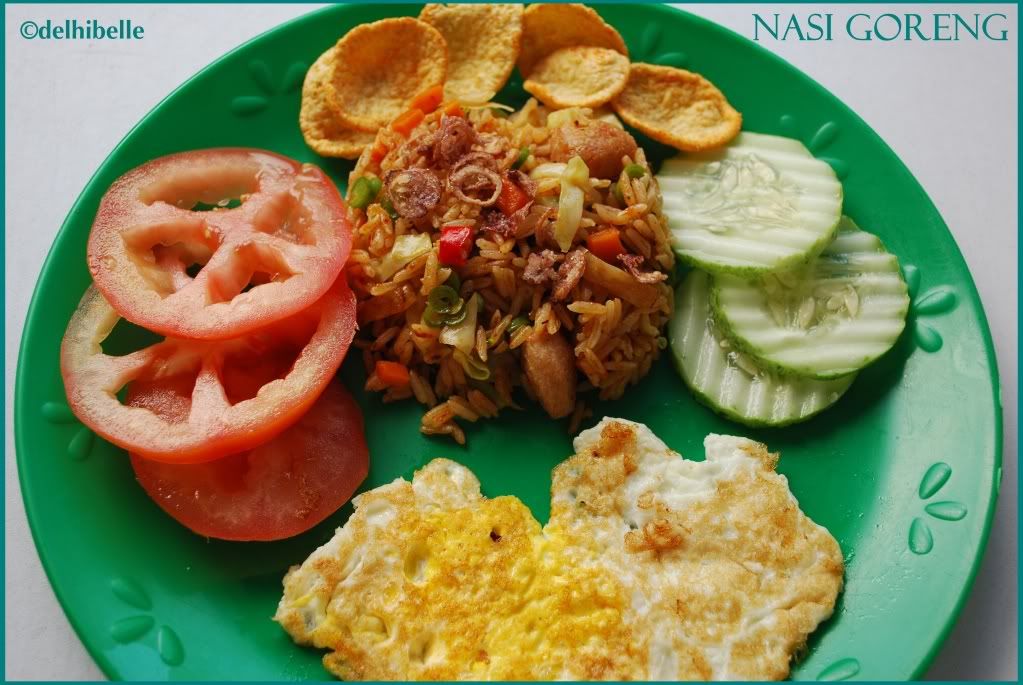
Step 5:Plate it with a few cucumbers, tomatoes and any crackers you like ( I used baked corn chips) and a crispy fried egg if you eat eggs. Here's the plate I did for hubby, with my (admittedly tacky) attempt at a heart shaped fried egg!
 Now I'm off to read my favourite blogs, to get much needed inspiration and motivation to keep blogging. See you again..soon!